If you grow your own vegetables, you've probably already had times when you had so much that you didn't know what to do with them. At first, you can share them with friends, neighbours or family. But in a second step, you might consider storing these foods for later, in winter for example, when the vegetable garden is almost at a standstill.
You might also want to eat in season, and not buy tomatoes in the middle of January, but rather in the summer, when they taste great and in this case want to keep them for consumption in the winter.
But then, what options are available to you to preserve your food?
There are many methods of food preservation. There are chemical processes, which use food additives (antioxidants, preservatives) to increase the shelf life of food. There are also physical processes: preservation by heat (pasteurisation, sterilisation), preservation by cold (freezing, refrigeration, deep-freezing), by elimination of water (drying, smoking, salting) or other techniques such as lacto-fermentation.
In this blog, we are interested in lacto-fermentation, a technique that was already used by our ancestors. It uses neither heat nor cold, but is no less efficient. I'm going to explain this technique to you: what it consists of, its advantages, the precautions to take, how long the food is kept, what to store it in and how to carry out this technique at home.
The lacto-what?
Lacto-fermentation is a method which, as you may have guessed from its name, uses lactic fermentation. But why use lactic fermentation? It is in fact an effective method to get rid of micro-organisms that could be potentially dangerous to our health. In fact, lactic fermentation produces lactic acid which causes acidification of the environment. Most micro-organisms are not resistant to acidic environments and are therefore eliminated during this fermentation. However, this is not at all bad for us, on the contrary, we will see this later on. In order to carry out this fermentation, we also need an anaerobic medium, i.e. without oxygen.
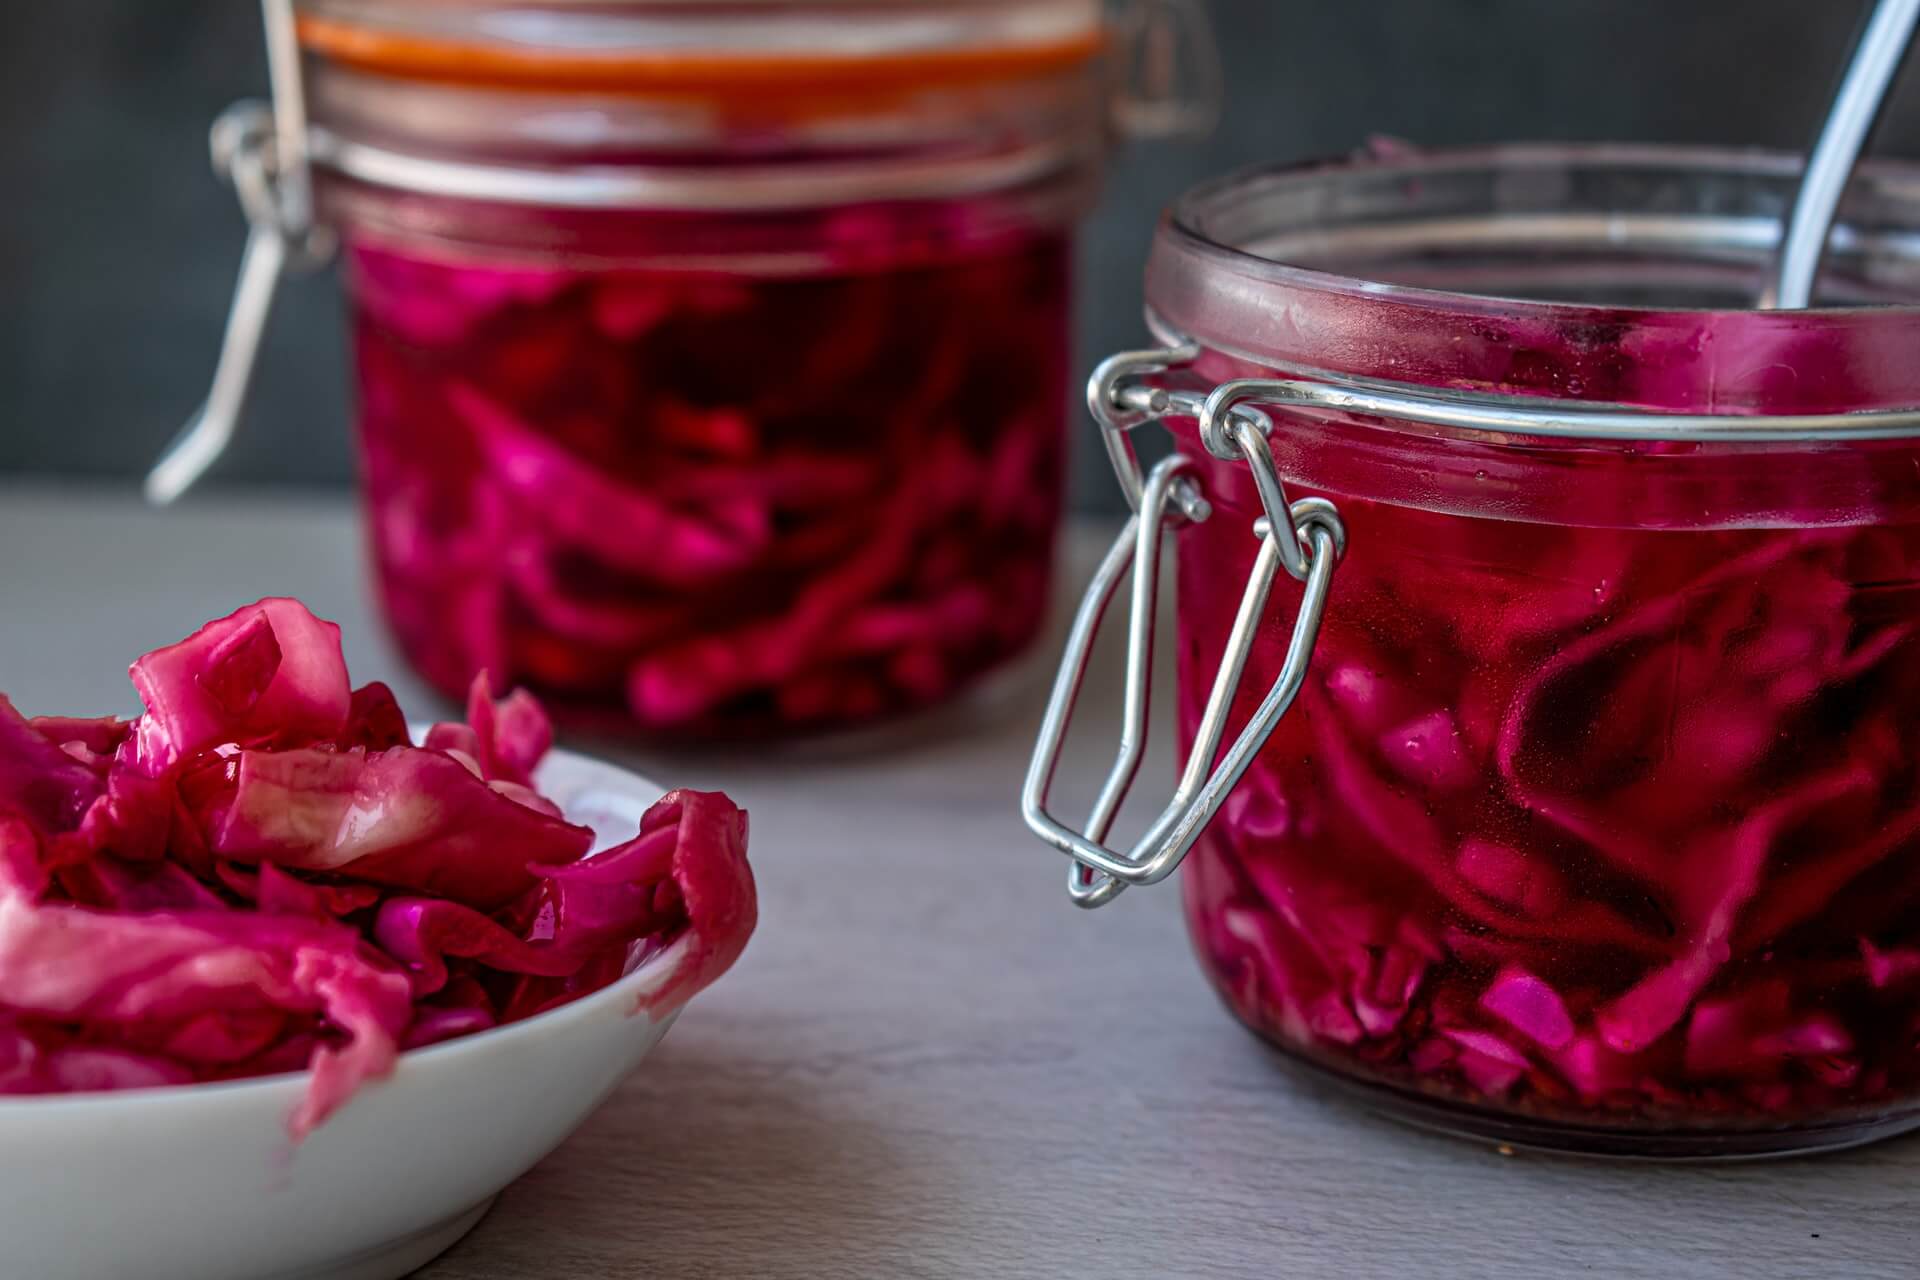
The best known example is sauerkraut, which is simply white cabbage fermented using this technique.
What are the advantages of lacto-fermentation?
The advantages of this technique are manifold, there's really no shortage of them!
1) First of all, lacto-fermentation does not require a specific utensil: no need for a fridge or freezer, and even less heating for sterilization. It's very easy to do and can be stored for a long time. What's more, you don't waste any more, so you save money!
2) Second, food retains its vitamins and other nutrients essential for health. And that's not all! Fermentation improves digestibility, so the products are better assimilated by the body. It helps to diversify the intestinal flora, the "second brain" because lacto-fermented foods contain many different strains of good bacteria.
3) This lacto-fermentation also strengthens the immune system, which is really useful in times of pandemic!
4) It is easy to imagine the savings made by using this zero waste method!
In short, the advantages of this technique are numerous!
What foods can I preserve using the lacto-fermentation technique?
Lacto-fermentation is used to preserve a large number of foods: mainly vegetables (cabbage, gherkins, carrots, peppers, beans, tomatoes, courgettes, etc.) but also certain fruits such as apples, lemons, cherries, melon, etc.
This technique is best suited for winter vegetables such as cabbage, carrots, beetroot because summer vegetables are usually filled with water and therefore become soft. This depends a little on the end use. If you lacto-fermented tomatoes to make Bolognese sauce in winter, that's great!
All vegetables are theoretically lacto-fermentable, except the potato because it contains starch and would therefore become sticky.
How long can I keep my lacto-fermented vegetables?
After one month, you can already consume your fermented food but it is best to consume it between the 4th and 6th month to maximise the flavours.
Which jars to use for lacto-fermentation?
It is best to use rubber glass jars with metal springs. These jars are designed not to let air in, which is what we want for our lacto-fermentation to be successful. It is not necessary to sterilise the jars before putting the food in them, cleaning with hot water is sufficient.
What are the dangers of lacto-fermentation?
Lacto-fermentation can be done with all vegetables and it is not advisable to do it with meat or fish which can lead to food poisoning.
If when opening the jar, a bad smell comes out, do not take the risk of consuming the lacto-fermented vegetable or fruit. Even if this technique is easy, it is possible to miss it.
I can sense your impatience... But how do you actually carry out this fermentation?
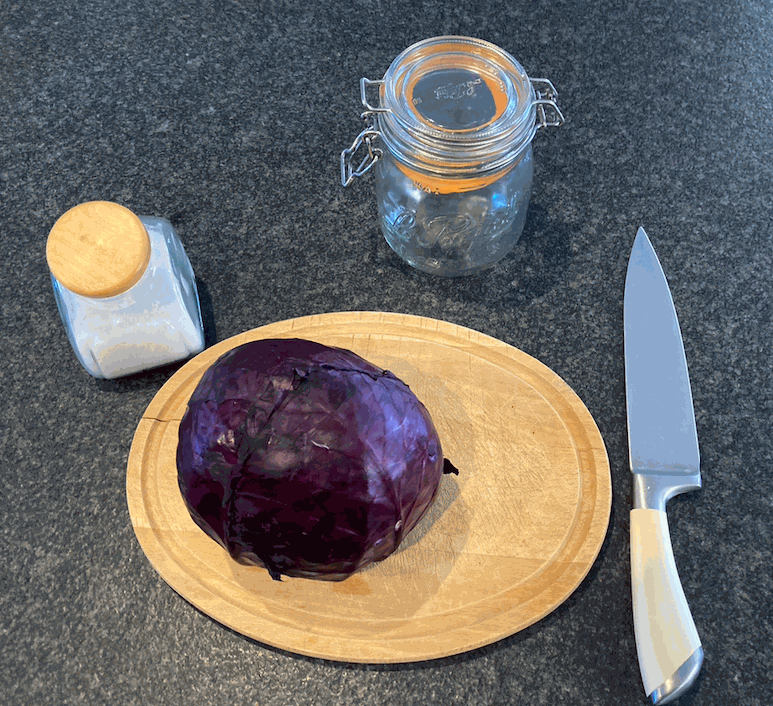
This technique is really easy to carry out at home and does not require any specific material. All you need is :
- Cut, grated, whole vegetables (preferably organic to reduce the risk of pesticides and other dangerous products. Even better if these come from your garden!).
- Of jars (preferably with rubber seal)
- A board and a knife (or possibly a mandolin)
- Salt (preferably sea salt)
- Plus at least 15 minutes
For juicy or grated vegetables, no water is needed. You can add water if you want to keep food in large pieces or for less juicy foods such as beans. This is called brine which is a mixture of water and salt (about 30g per litre).
< NL
FR >
1. Cut or grate the vegetables : you simply start by preparing the vegetables you want to keep.
2. Add salt : In a large dish, put the vegetables with salt (at a rate of 10g per kilo of vegetables) and mix with your hands so that the salt melts and leave to rest for a few minutes. Mix again and when you squeeze, juice comes out of the vegetable . You can then proceed to fill the jars, otherwise you can wait a little longer for the vegetable to soak up the salt.
Another possible method is to mix salt in lukewarm water (one or two tablespoons of salt in a litre of water) and add this salt water to the jar filled with vegetables. Both methods give equivalent results, the second being slightly less salty. It's up to you to test and see which one works best for you.
3. Fill the jar(s) : fill the jar little by little, taking care to crush the vegetable at the bottom of the jar with your fist so as not to leave any air: lactic fermentation takes place in an anaerobic environment (without oxygen). At the end of filling and pressing, the juice should slightly cover the vegetables. Important, stop the filling about 1cm below the rim of the jar and close it tightly.
4. Fermentation phase : leave at room temperature for about a week for fermentation to take place. If you see small bubbles, you are on the right track. !
5. Tasting : after the fermentation phase, preferably put the jar in a cool place (around 15°C, in a cellar for example) so that it keeps longer. The colder it is, the slower it will go and therefore the longer you will keep your vegetables.
6. Shelf life after opening : once your jar is opened, keep in the fridge.
Recipe idea with fermented cabbage :
Fermented coleslaw
Ingredients (for 2 persons) :
- 2 glasses of pearl barley
- 2 carots
- 4 tablespoons of fermented red cabbage
- Broccoli heads
- 1 appel
- 1 lemon
- 1 shallot
- Olive oil, salt and pepper
Making the recipe (10min) :
1. Cook the pearl barley
2. Mix with red cabbage
3. Add carrots (grated), broccoli heads (cut into small pieces)
4. Add also a grated apple mixed with lemon (to avoid oxidation).
5. Make a small sauce with the shallot, a bit of oil, salt, pepper and lemon and add it to the preparation.
6. Enjoy your meal!
Titi the Elk
